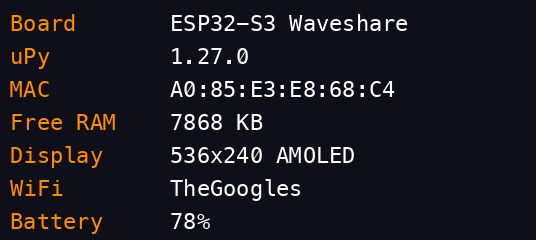
Open Source · MicroPython · ESP32-S3

mote.

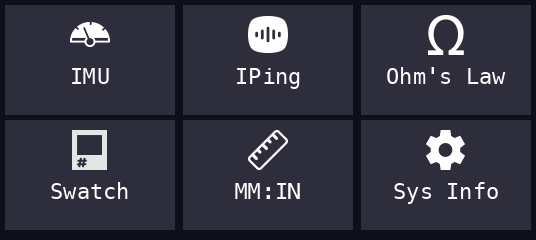
// a tiny prototyping OS

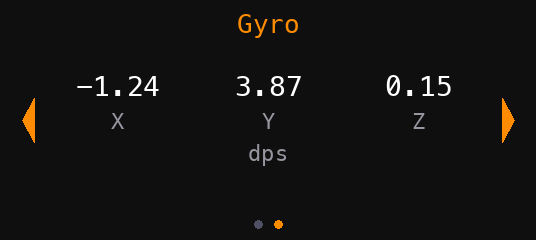
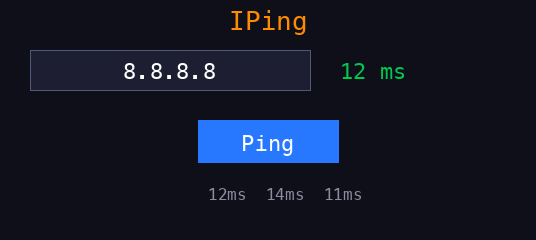
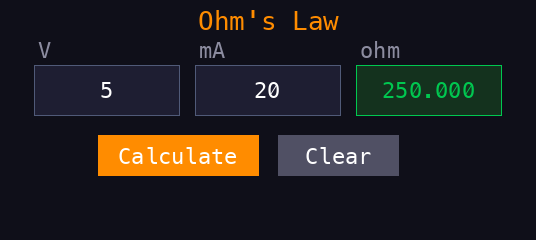
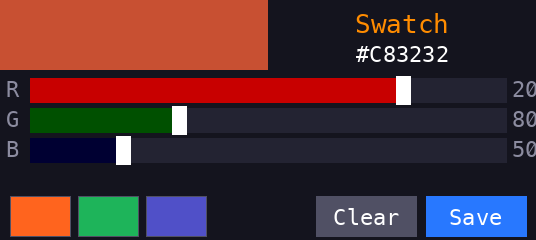
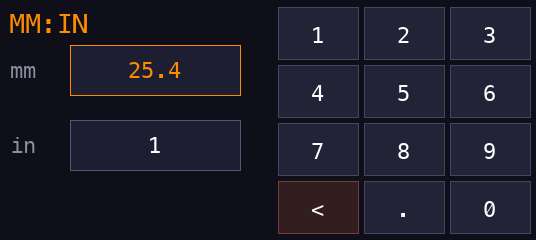
A touch-navigable app launcher and open framework for the Waveshare ESP32-S3 AMOLED board. Swap batteries, build apps, 3D print a case. Everything is open — the firmware, the apps, the STL files, all of it.

536×240 AMOLED · touch · WiFi · IMU
6
Built-in apps
536×240
AMOLED resolution
7.8MB
Free RAM at idle
~45min
Print time for case

Ships with six apps.
Write your own in minutes.

sensor

IMU Viewer

Live accelerometer and gyroscope data from the onboard QMI8658. Swipe between accel (g) and gyro (dps) screens.

network

IPing

Enter any IP address and ping it. Shows response time in ms with a rolling 3-result history. Times out after 20 seconds.

calculator

Ohm's Law

Enter any two of V, I, R and calculate the third. Essential bench tool. The calculated result highlights in green.

studio

Swatch

RGB sliders with a live color preview and hex value. Save your last 3 colors. Built for matching real-world pigments and materials.

converter

MM:IN

Millimeters to inches and back. Tap either field, type a value, the other updates instantly. No calculate button needed.

system

Sys Info

Board, firmware version, MAC address, free RAM, display specs, WiFi network, and battery percentage at a glance.

One board.
Everything built in.

Board
Waveshare ESP32-S3 AMOLED 1.91
MCU
ESP32-S3R8, dual-core LX7, 240MHz
Flash / PSRAM
16MB / 8MB Octal
Display
1.91" AMOLED, 536×240, RM67162 over QSPI
Touch
FT3168 capacitive, I2C
IMU
QMI8658 6-axis (accel + gyro)
WiFi
802.11 b/g/n 2.4GHz
Bluetooth
BLE 5.0
Battery
JST MX 1.25mm LiPo header with charging
Runtime
MicroPython 1.27.0
settings.json
{
  "wifi": {
    "ssid": "YourNetwork",
    "password": "YourPassword"
  },
  "owner": {
    "name": "Your Name",
    "email": "[email protected]"
  }
}

Drop a settings.json on the device to configure WiFi and owner info. No on-screen keyboard needed — this is a dev tool, so configure it like one.

Three exports.
That's the whole API.

01

NAME — display label

What shows up in the launcher tile. Keep it under ~12 characters.

02

ICON — fallback tile color

A colour565 value used if no icon bitmap is found in /icons/.

03

run(display, touch, font, button)

Your app's entry point. Return from run() to exit back to the launcher. The shell handles everything else — crash recovery, memory cleanup, redraw.

04

Home button (GPIO 10)

Short press the physical home button to return to the launcher. Long press (2s) to enter deep sleep — press again to wake.

app_template.py
# mote app template

NAME = "My App"
ICON = 0xF81F  # colour565 fallback

def run(display, touch, font, button):
    # display  → amoled.AMOLED (536×240)
    # touch    → FT3168 driver
    # font     → 31px bitmap font
    # button   → HomeButton driver

    display.fill(0x0000)
    display.write(
        font,
        "Hello mote.",
        160, 100,
        0xF5A6  # orange
    )

    while True:
        if button.check():
            return  # back to launcher
        t = touch.get_touch()
        if t:
            pass  # handle touch

Flash, upload, run.

1

Flash custom firmware

Mote requires a custom MicroPython build with the amoled C module. Use firmware_2025_12_15.bin from the dobodu repo.

2

Upload project files

Use mpremote to copy the core files, fonts, and apps to the board.

3

Configure settings

Create a settings.json with your WiFi credentials and owner info. The file is gitignored.

4

Print the case (optional)

STL files included. White PLA, ~45 minutes. M2 screws into the board standoffs. No glue.

terminal
# install tools
pip install esptool mpremote

# erase + flash firmware
esptool.py --chip esp32s3 \
  --port $PORT erase_flash

esptool.py --chip esp32s3 \
  --port $PORT --baud 460800 \
  write_flash --flash_size 16MB \
  0x0 firmware_2025_12_15.bin

# upload mote
mpremote connect $PORT cp boot.py :
mpremote connect $PORT cp main.py :
mpremote connect $PORT cp shell.py :
mpremote connect $PORT cp button.py :

# upload your settings
mpremote connect $PORT \
  cp settings.json :settings.json

# run it
mpremote connect $PORT run main.py

Everything you need
to build a Mote.

Waveshare ESP32-S3-Touch-AMOLED-1.91

Be sure to confirm that you're ordering the touch version — the non-touch variant exists.

→ required

3.7V LiPo Battery

JST MX 1.25mm connector. Check polarity before connecting — LiPo connectors aren't standardized. ~500mAh recommended.

→ required for portable use

M2 Screws (4×)

For mounting the board to the case via the onboard brass standoffs. Short M2s, 4–6mm length.

→ required for case

Momentary Push Button

You will need this for your physical home button. The case provided accommodates a 12z12mm button.

→ recommended for case

Female Header Pins

Use these to expose GPIO ports on the board. The included case STL files accommodate 4 pins, extend the opening to allow more.

→ required for external GPIO

PLA Filament

If you plan to 3D print the case files. ~45 minute print for both halves. No supports needed with the current design.

→ required for case

USB-C Cable

For flashing and charging. A right-angle adapter helps if you're routing the cable through the case opening rather than adding a magnet adapter.

→ required for setup

Miscellaneous

Having solder and a soldering iron, heat shrink tubing, an X-Acto/hobby knife, sandpaper, and CA glue will all make mote easier to build.

→ reccommended